DIY Hummingbird Feeder Tutorial: Easily Make One Using Household Items

Do you want your balcony or garden to become a hummingbird paradise? You can easily make one yourself using common household items. It’s not only economical and environmentally friendly, but it also allows you to observe these lively little creatures up close. Today, I’ll guide you step-by-step on how to easily make one and share some tips to attract hummingbirds to your garden more quickly.
Hummingbirds are small and agile; their buzzing and flapping wings seem to breathe life into the entire space. With the right methods, even beginners can successfully create a DIY hummingbird feeder, instantly bringing your garden to life.
Table of Contents
Why choose a DIY hummingbird feeder?
Economical and environmentally friendly
Compared to buying a ready-made feeder, DIY only requires old bottles, glass jars, plastic sheets, and rope to make a reusable feeder. It’s low-cost, recycles waste materials, and is both environmentally friendly and practical.
Highly customizable
DIY feeders can be customized in terms of capacity, color, and hanging method to suit your home environment. Want to hang a few small bottles on your balcony? No problem. Want glass jars that are both beautiful and durable? That works too. Design them entirely to your own taste, making your garden both practical and stylish.
Interaction and Fun
Preparing the honey water, setting up the feeder, and then watching the hummingbirds gracefully fly in fills you with a sense of accomplishment. Each feeding is like a small, natural interaction, which not only relaxes you but also enhances your observation skills of nature.
Tip: A DIY hummingbird feeder is more than just a tool; it’s like a little bridge between you and nature, adding fun to your life.
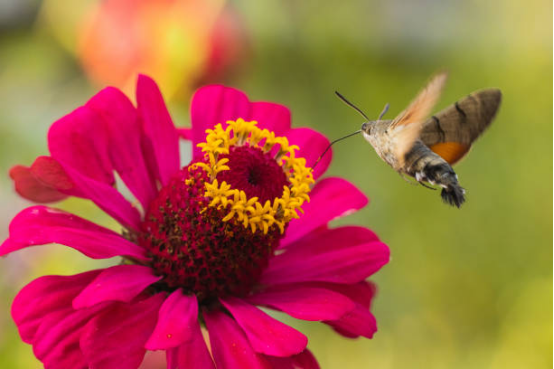
How to turn common household items into a hummingbird feeder
Method 1: Plastic Bottle Remodeling
Required materials
- Clean plastic water bottles or soda bottles
- Screw cap
- Wire or thin rope (for hanging)
- Nails or ice picks are used for drilling holes.
- Red plastic pieces or old folders (for making “petal” decorations)
Production steps
- Thoroughly clean the bottle to ensure there is no residual beverage or odor.
- Make a hole: Poke a small hole in the center of the bottle cap so that the honey water can drip out slowly. The hole should not be too big; otherwise, it will leak.
- Decoration: Cut out several “petals” from red plastic sheets and stick them around the feeding opening to increase its attractiveness.
- Hanging: Use wire or rope to hang it on a tree branch in a semi-shaded balcony or garden.
- Pour in honey water: Observe the hummingbirds’ visit and enjoy the little surprise.
This method is simple and inexpensive, making it ideal for beginners and those on a budget.
Method 2: Modification of glass bottles/Mason jars
Material preparation
- Mason Jar or clean glass bottle
- lid and metal cap ring
- Red plastic sheet or waste plastic
- Thin rope or cotton rope
- Scissors, hole punch
Production steps
- Remove the lid and metal ring, cut a red plastic sheet into a circle, and punch a hole in it to serve as the feeding port.
- Insert the plastic sheet into the metal cap ring, then tighten the bottle opening to form a “petal/feeding opening.”
- Tie the bottle with a rope and hang it on the balcony or in the garden.
- Pour in the honey water and wait for the hummingbirds to arrive.
Glass feeders are aesthetically pleasing, durable, and suitable for long-term use, while also blending easily into garden environments. If you enjoy decorating your patio, this DIY hummingbird feeder will elevate the overall look.
Honey Water Recipe: Safe and Simple
The safety of the honey water is of paramount importance; improper honey water can harm hummingbirds.
- Ratio: 4 parts water to 1 part white sugar, which is closest to natural honey.
- Preparation method: Heat water until the sugar dissolves, cool, and pour into the feeder.
- Precautions: Never use honey, red dye, or artificial sweeteners.
A friendly reminder: In summer, the high temperature can cause the honey to spoil easily, so change it every 2-3 days; in winter, change it weekly. Keeping the honey fresh is key to attracting hummingbirds.
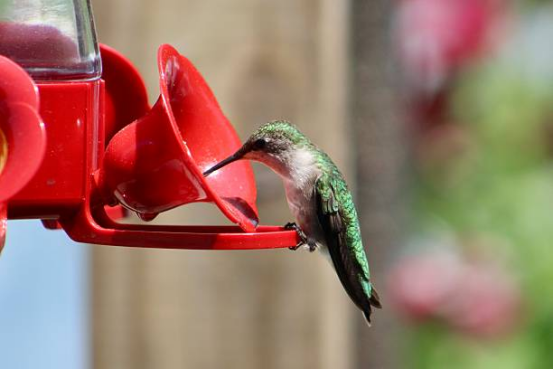
Usage and maintenance tips
Hanging position
- A semi-shaded and well-ventilated area is best, avoiding direct sunlight.
- Avoid locations with strong airflow or high vibration.
Cleaning and maintenance
- Clean the feeder thoroughly before each honey water change.
- Disinfecting with warm water and a small amount of vinegar is both safe and effective.
Preventing ants and wasps
- You can hang a small ant-repellent cup.
- Alternatively, you can hang it in a high place to reduce insect interference.
Strategies for Multiple Hummingbird Feeders
- If there are many hummingbirds, you can hang 2-3 hummingbird feeders.
- Maintaining a certain distance reduces competition and allows more hummingbirds to feed at the same time.
A short story about DIY hummingbird feeder
A few days ago, I hung a plastic bottle feeder on my balcony. After pouring in honey water, I still had some doubts: “Will there really be hummingbirds?”
Unexpectedly, two days later, a male hummingbird actually flew over. It perched on the bottle’s opening, licking the nectar with its delicate tongue, the soft sound of its wings fluttering filling the air, a moment that made one unable to help but smile.
However, I noticed that the honey water started to become cloudy and had an unpleasant odor after 3 days. I thoroughly cleaned the bottle and prepared the honey water again. A few hours later, the hummingbird returned. This made me realize that cleanliness and regular water changes are key to the success of a DIY hummingbird feeder.
If you decide to take action, setting a schedule of “cleaning + changing honey water” from the beginning will greatly increase the success rate and make it safer.
Tips to increase attractiveness
- Red decorations: Hummingbirds are most sensitive to red, and red “petals” or red feeding ports can increase visitation rates.
- Flexible placement: If there are few hummingbirds, try moving the feeder to find their favorite observation spot.
- Avoid disturbances: Keep the area around the feeder quiet and minimize frequent disturbances from people or pets.
- Record your observations: You can use a small notebook to record the number of times and the time period when hummingbirds visit, which is both fun and practical.
These tips can significantly increase the success rate of DIY hummingbird feeders and make your interaction with your hummingbird more fun.
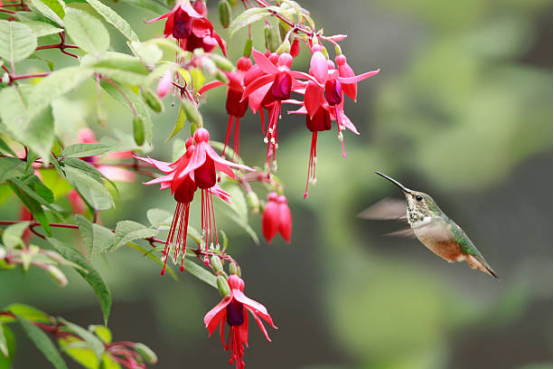
In summary: DIY hummingbird feeder—even beginners can easily get started.
Making your own hummingbird feeder is a low-barrier, high-reward gardening activity. It saves you money while allowing you to enjoy the pleasure of crafting and observing nature.
Key points:
- The materials are simple: old bottles, glass jars, and plastic sheets will suffice.
- Honey water safety: 4:1 white sugar water, no honey or red dye used.
- Feeding port decoration: Red “petals” attract hummingbirds
- Regular cleaning: Change the water every 2–3 days
- Proper placement: semi-shaded and well-ventilated, to avoid ants and wasps.
- Tips: Record your observations and adjust the position flexibly to increase your success rate.
With these tips, even beginners can easily make effective hummingbird feeders. Watching the hummingbirds flit about and enjoying your homemade honey water will bring you unprecedented satisfaction and natural joy. Give it a try, and you might just find that a hummingbird has quietly become your “neighbor.”