Detection and repair of leakage problems in hummingbird feeders

By troubleshooting step by step, we found a stable and reliable hummingbird feeder.
When using a hummingbird feeder, “leakage” is almost an unavoidable problem.
Sugar water slowly dripping from the feeding opening or bottom may seem like a minor inconvenience, but over time it can lead to a series of chain reactions: wasted nectar, attracting ants and wasps, making the ground sticky, and even affecting the hummingbird’s normal feeding.
When many users discover that their Hummingbird feeder is leaking, their first reaction is often to doubt the product’s quality or even to simply stop using it.
This article will systematically explain the detection methods, common causes, and corresponding repair strategies for feeder leakage from a practical user perspective, helping you restore your feeder to a stable state without replacing the entire product.
Table of Contents
Why does the Hummingbird feeder leak?
To truly solve the leakage problem, it’s essential to first understand the basic working principle of the hummingbird feeder.
Contrary to many people’s intuition, the hummingbird feeder doesn’t rely entirely on a “leak-proof” system to control nectar; instead, it depends on internal pressure balance.
When the feeder is functioning properly, a stable balance is maintained between air and nectar, and the nectar is only drawn out when the hummingbird is feeding. Once this balance is disrupted, the nectar may leak out uncontrollably, causing leakage.
Common destructive factors include:
- Aging or misalignment of the sealing structure
- The suspension angle is not horizontal
- The nectar container was too full.
- The component has a fine crack
Understanding this is important because it means that
leakage is not always the result of a single damaged part but often the result of multiple details accumulating.
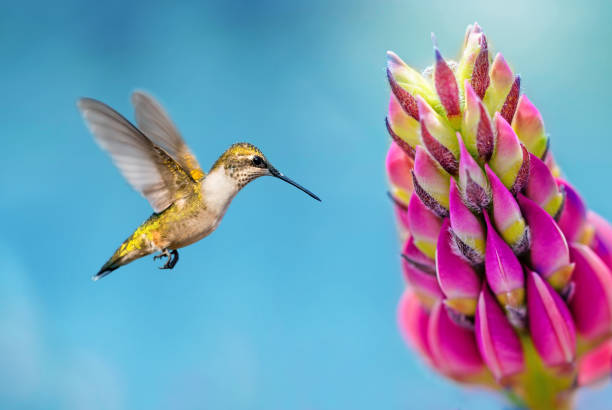
Correct steps to check for leaks in a hummingbird feeder
Before attempting any repairs, the first step is always to accurately identify the source of the problem. Repeatedly disassembling and reassembling without understanding the cause may actually introduce new problems.
Basic testing procedures (extremely critical)
- Pour out all the nectar from the hummingbird feeder.
- Thoroughly clean and dry all parts.
- Refill with clean water (to avoid wasting nectar).
- Place the feeder on a perfectly horizontal surface.
- Let stand and observe for 10–15 minutes.
If leakage still occurs without suspension or shaking, the problem is most likely due to structural or sealing issues, rather than external environmental factors.
Reason 1: The sealing ring is old or not installed properly.
Of all the leak cases, sealing ring issues were almost the most frequent.
Even slight aging or misalignment was enough to compromise the airtightness of the hummingbird feeder.
Why are sealing rings prone to problems?
- Prolonged contact with high-sugar liquids will gradually harden the skin.
- High temperatures or direct sunlight accelerate material aging.
- Pulling or improper installation angle during cleaning
Often, the sealing ring may appear to be “still there,” but in reality, it has lost its elasticity.
Detection and Repair Methods
- Remove the sealing ring and carefully inspect it for cracks or deformation.
- Soak it in warm water for a short time to see if it can regain its softness.
- Realign and install, ensuring there is no twisting.
- If leakage persists, it is recommended to replace the sealing ring directly.
This is the lowest-cost and most effective repair method.
Reason 2: The hummingbird feeder was not kept horizontally suspended.
Many users overlook a detail:
the hummingbird feeder is very sensitive to the hanging angle.
Even a slight tilt that is apparent to the naked eye can lead to continuous leakage.
Why does it leak if it’s not horizontal?
When the feeder is tilted, the nectar inside will concentrate on one side, the pressure balance will be broken, and the syrup will seep out continuously from the lowest point, forming a “slow leak.”
This situation is especially common outdoors when it is windy and the hook is unstable.
Solution
- Adjust the length of the hook or hanging rope
- Ensure the feeder is suspended vertically.
- Avoid being pushed to one side by tree branches or wind for a long time.
After the repair, a desktop test was performed again to confirm that there was no further leakage.
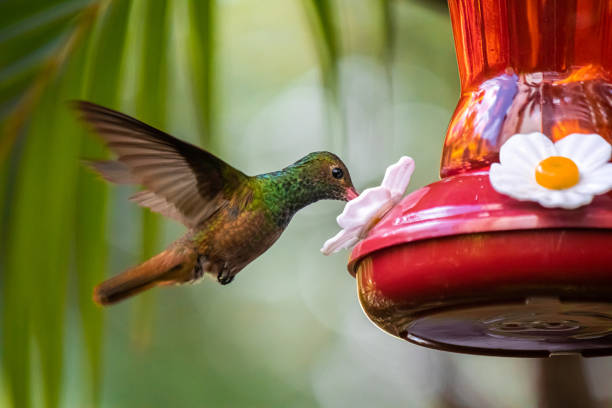
Reason 3: There are minor cracks in the feeding port or base.
Some hummingbird feeders leak not noticeably, but rather as a slow seepage.
This is often related to tiny cracks in the plastic or metal parts.
Where do cracks usually originate?
- Prolonged exposure to sunlight will cause the material to become brittle.
- Improper storage after low winter temperatures
- Use a hard brush or tool to scrape during cleaning.
These cracks are not easily visible when the plant is dry, but they will begin to leak once it is filled with nectar.
Handling suggestions
- Run your finger along the edge to feel for any unevenness.
- Carefully observe the key connection parts with the help of light.
- The part should be discontinued once a crack is discovered.
- If it is a replaceable part, it can be replaced individually.
Continuing to use a cracked hummingbird feeder will only make the problem worse.
Reason 4: The nectar container is overfilled, disrupting the air pressure balance.
To reduce the frequency of adding honey, many people fill their hummingbird feeder to the “fullest” level all at once.
However, overfilling is actually one of the hidden causes of leakage.
Why does it leak when it’s too full?
- There is almost no air space inside.
- When the temperature changes, the liquid expands and has nowhere to release its energy.
- The air pressure regulation space is compressed
Ultimately, the sugar water could only be “squeezed” out from the feeding opening or gaps.
Correct approach
- Leave a small amount of air space when adding honey.
- Not pursuing fullness
- Reduce loading volume appropriately during hot weather
Reason 5: Improper sugar-water ratio leads to crystallization and abnormal gas pressure.
While crystallization is more often associated with blockages, it can also indirectly cause leaks in some cases.
Mechanism Explanation
When the feeding opening is blocked by sugar crystals, air cannot enter smoothly, the internal air pressure becomes unstable, and the sugar water may leak out from other parts.
Prevention recommendations
- Always use the standard ratio: 1 part white sugar: 4 parts water
- No honey, brown sugar, or sugar substitutes used.
- Clean the feeding port regularly to prevent food residue from accumulating.
After the repair is complete, how can I confirm that the feeder has returned to normal?
If you add honey directly after repairing the product, it’s easy to overlook potential problems.
- Recommended verification steps
- First fill with clean water
- Let it stand and observe for at least 15 minutes.
- Shake gently to confirm there is no leakage.
- Then officially add nectar hanging use
This verification step can greatly reduce the hassle of repeated disassembly and cleaning.
In summary, most hummingbird feeder leakage issues can be resolved.
Leaking doesn’t mean the feeder is unusable.
In most cases, a leaking Hummingbird feeder simply means that a detail needs adjustment.
By following the steps of detection → location → repair → verification, many seemingly difficult problems can actually be effectively solved.
FAQ: Frequently Asked Questions about Feeder Leakage
Q1: My Hummingbird feeder leaks as soon as I install it. Is it a quality issue?
Not necessarily. More common causes are sealing problems or hanging angle issues.
Q2: Will leakage affect hummingbirds?
Yes. Continuous leakage may lead to insufficient nectar and may also attract pests that disturb hummingbirds.
Q3: How often should I check the sealing parts of my hummingbird feeder?
It is recommended to check it every 1–2 months and increase the frequency appropriately during hot seasons.