How to prevent mold from growing in your hummingbird feeder? A practical maintenance guide.

If you use a hummingbird feeder long-term, there’s one thing you can hardly avoid entirely:
mold.
It might start as just a little white mist on the inner wall or tiny black spots around the feeding opening. Many users instinctively think, “A quick wash will fix it.”
But the reality is often that the mold will reappear after a while.
This isn’t because you’re not careful enough; it’s because mold easily forms in the environment where hummingbird feeders are used.
More importantly, if not handled correctly, it often recurs and can even worsen.
If you want your hummingbird feeder to attract hummingbirds safely and consistently in the long term, this article is worth reading in its entirety.
Table of Contents
Why is a hummingbird feeder so prone to mold growth?
To truly avoid problems, you must first understand where they come from.
High-sugar nectar is itself an “ideal culture medium” for microorganisms.
The nectar used in hummingbird feeders is essentially a high-sugar solution.
And sugar, under the right conditions, is almost a “perfect food” for molds and yeasts.
Mold reproduction is particularly accelerated in the following environments:
- Temperatures remain above 25°C
- Nectar exposed to air for extended periods
- There is residual sugar inside the feeder that has not been properly cleaned.
Many people mistakenly believe that “the more sugar, the safer,” but in fact, an unstable sugar water environment is more likely to breed microorganisms.
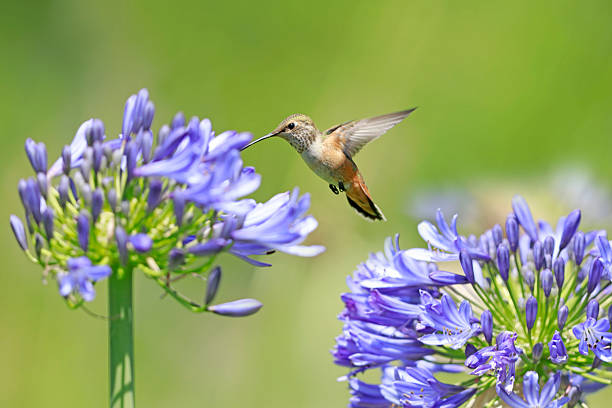
The structure of a hummingbird feeder naturally creates cleaning dead zones.
Even a well-designed hummingbird feeder can hardly be completely “without blind spots.”
Common areas where residues tend to accumulate include:
- Inside and edges of the feeding opening
- Connection between base and honey storage bottle
- Sealing ring and groove position
If these areas are not thoroughly cleaned, they will become a source of recurring mold growth.
The problem is that mold is not always visible to the naked eye.
Common signs that hummingbird feeder has started to grow mold
The appearance of mold does not necessarily mean “a large, obvious patch.”
The following signals often appear earlier but are easily overlooked:
- The nectar changed from clear to slightly cloudy
- A thin white film appeared on the inner wall.
- Tiny black spots appeared around the feeding opening
- There is a slight sour or musty smell when the feeder is opened.
If the above situation occurs, it means that this feeder is no longer suitable for direct use and needs to be dealt with immediately.
How can we prevent mold from appearing in Hummingbird feeders from the source?
Preventing mold growth is never as simple as “washing more often,” but rather a consistent usage strategy.
1. Use a stable and correct ratio of nectar.
This is the most easily overlooked yet most impactful aspect.
Recommended ratio: 1:4 (white sugar: water)
This ratio was not derived arbitrarily but is the most stable solution verified through long-term use.
- Too much sugar: It easily crystallizes and adheres to the inner wall.
- Too little sugar: Nectar is more easily broken down by microorganisms.
A stable ratio helps slow down the rate of nectar spoilage and is the first line of defense against mold.
2. Control the time nectar stays in the hummingbird feeder.
Many mold problems are not caused by “mixing the wrong nectar” but by storing it for too long.
Depending on the environment, the recommended replacement frequency is as follows:
- Summer heat: Change every 1–2 days
- Spring and autumn seasons: Change every 3–4 days
- When in a cool or shady place: no more than 5 days
A practical principle is:
it’s better to add small amounts and change them frequently than to fill it up all at once.
3. The feeder must be thoroughly cleaned each time the nectar is changed.
Simply discarding old nectar without cleaning the feeder is one of the most common reasons for recurring mold growth.
The correct cleaning process should include:
- Discard all remaining nectar
- Rinse briefly with warm water.
- Clean the interior with a special brush.
- After confirming there are no residues, let it air dry.
If necessary, diluted white vinegar can be used to assist in cleaning, but it is essential to rinse thoroughly to avoid any lingering odor.
4. Sealing rings and feeding openings are the favorite hiding places for mold.
In actual use, the honey storage bottle itself is often not the source of recurring mold growth.
Key areas of focus:
- Does the sealing ring absorb sugar?
- Are there any sticky substances inside the feeding port?
It is recommended to do this regularly:
- Disassemble the sealing ring and clean it separately.
- Clean the feeding mouth with a fine brush.
- Replace promptly if aging or deformation is detected.
Aging components are a major reason for the long-term presence of mold.
5. Avoid exposing the feeder to direct sunlight for extended periods.
Sunlight significantly accelerates the following processes:
- Nectar warms
- Sugar breakdown
- Microbial reproduction
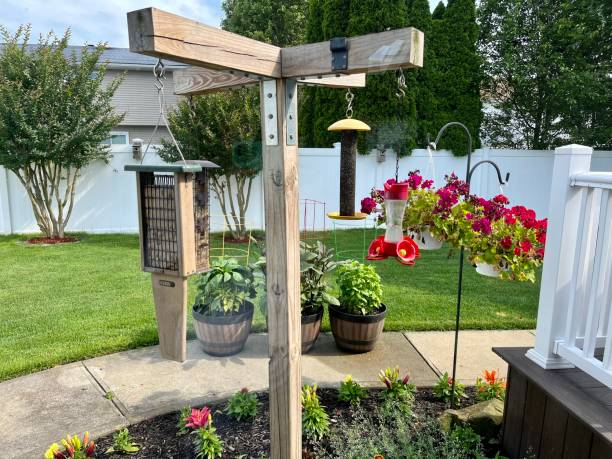
The ideal placement location should meet the following requirements:
- Shade
- Air circulation
- Avoid direct sunlight all day
Simply adjusting the location can significantly reduce the frequency of mold growth.
These methods for “fighting mold” are actually not safe.
Some practices may seem effective but are not recommended:
- Adding preservatives to nectar
- Use a strong cleaner containing bleach.
- Wash with hot water only, without scrubbing.
These methods may leave chemical residues or fail to truly remove mold deposits, posing potential risks to both hummingbird feeders and hummingbirds.
Can the Hummingbird Feeder still be used after mold appears?
The answer depends on the specific circumstances.
Situations where continued use is possible:
- The mold has just appeared
- No odor after cleaning
- The inner wall remains smooth and free of scratches.
Recommended replacement:
- Mold recurrence
- The inner wall is yellowed or becomes rough.
- There is still a noticeable odor after washing.
It should be noted that older feeders are more prone to harboring bacteria, and continuing to use them will only increase the difficulty of maintenance.
FAQ: Frequently Asked Questions about Feeder Mold
Q1: The nectar looks clear, so why does it still get moldy?
Mold may be attached to the inner wall or the sealing ring, and it is not always present directly in the nectar.
Q2: Can I use dish soap to clean the feeder?
A small amount can be used, but it must be rinsed thoroughly to avoid any residue.
Q3: Can refrigerating honey in advance reduce mold?
It can delay spoilage, but after pouring it into the feeder, it still needs to be replaced in a timely manner according to the ambient temperature.
Q4: Are glass hummingbird feeders less prone to mold growth?
Glass is less susceptible to mold growth, but the sealing ring and base still require thorough cleaning.
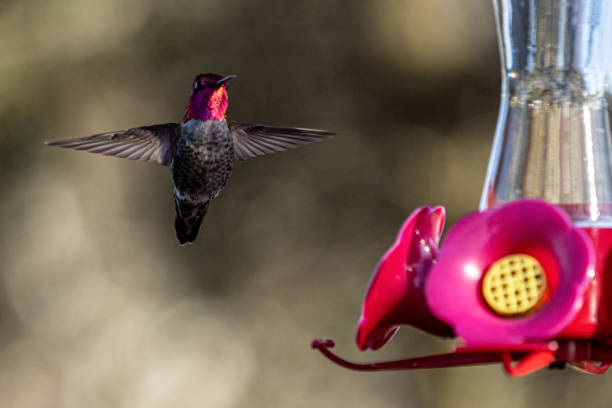
In conclusion, preventing mold is a fundamental responsibility when using a hummingbird feeder.
The purpose of a hummingbird feeder is to provide hummingbirds with a stable and safe energy source.
Mold, however, is one of the most easily overlooked yet most destructive factors in achieving this goal.
pass:
- Correct nectar ratio
- Reasonable replacement frequency
- Consistent and meticulous cleaning habits
- Suitable placement
You can significantly reduce the probability of mold appearing in your feeder.
Remember this:
Cleaning is not a one-time action but a long-term maintenance strategy for using the Hummingbird Feeder.
If you want to reduce cleaning hassles and extend the lifespan of your hummingbird feeder, its structural design is specifically optimized for mold control.